
CASE-ING TUESDAY #371 - SOFT SEEDLINGS
Welcome back to another CASE-ing Tuesday Sketch Challenge. I don't know about you, but I am ready for Fall! I started decorating the inside of my house last week and I'm currently working on transitioning my front porch. I love this time of year! Especially when the leaves begin to change.


I somehow overlooked this card example in the catalog. It's a simple design with added details like dimension. Check it out on page 27 of the Annual Catalog.

Here are the card measurements.

I started with an Early Espresso card base. You might be wondering how I was able to achieve all the different colors for the stamped leaf image. Read below and I will show you how!

First, grab your Classic Stampin' Ink Pads in the following three colors:
- Crushed Curry
- Pumpkin Pie
- Merry Merlot
Have a 3-3/4" x 3-3/4" piece of Very Vanilla cardstock ready. Grab the large leaf stamp from the Soft Seedlings Stamp Set and place it on a clear block.

Ink the entire stamp with Crushed Curry ink. Set the stamp aside.

Using your finger, "daub" Pumpkin Pie ink on the tip of a sponge dauber.

Repeat this step again using Merry Merlot ink.

Now gently "tap" each of the sponge daubers directly on the rubber side of the stamp to layer in some color.
You may have to repeat this step several times to your liking.

This is what your stamp will look like once you completed the steps above. I like to sponge the darker ink (Merry Merlot) just around the tips of the leaf. I focused more of the Pumpkin Pie ink along the center.

Next, "huff" on the stamp to moisten the ink and stamp it on the Very Vanilla cardstock layer.

TADA!!! Here are the final results! The cool thing about this stamping technique is that no two cards will ever look the same. It will always depend on how much ink you choose to apply using each of the sponge daubers.

I cut the Very Vanilla cardstock layer using the dimensions posted above in the example.

I adhered the stamped images to (4) 2" x 2" Crushed Curry cardstock layers. Adhere these squares to the card front as shown. BE CAREFUL! Be sure to pay attention how the four images are laid out before you adhere them down. Ask me how I know! LOL!!

I added (3) Brushed Metallic Adhesive Backed Dots in Bronze.

I stamped the greeting (which can be found in the stamp set) in Early Espresso ink on Very Vanilla cardstock. Lastly, cut a piece of Merry Merlot cardstock and trim both ends at an angle. Adhere it behind the greeting. Attach the sentiment to the card using dimensionals.
I hope my card gives you the inspiration to create one of your own!
Happy Stamping!
THE NEW 2022 HOLIDAY CATALOG IS HERE!
CLICK HERE to request a copy.

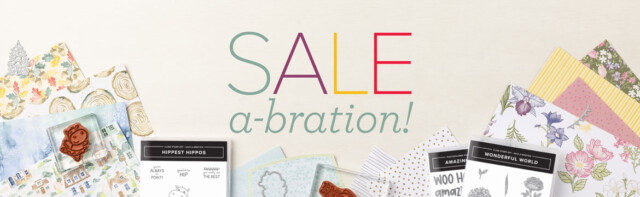
SALE-A-BRATION RUNS JULY-AUGUST!
Earn FREE SAB product for every increment of $50 or $100 you spend on a single order. That's not all! Every order that equals $300 or more, will earn the exclusive Host Set called Perfect Pomegranate.
SHOP ONLINE: Click on the images below. It will automatically take you to my Online Store.
SEPTEMBER 2022 PAPER PUMPKIN KIT
Get your Halloween crafting on with the Spooky Treats Paper Pumpkin Kit. This month’s kit includes everything you need to make 18 absolutely adorable (and just the right amount of spooky) treat boxes—that’s 6 each of 3 unique designs! No need to let the season creep up on you; subscribe and order your kit today. CLICK HERE to order your kit by September 10th!

Shop Online AUGUST HOSTESS CODE: 4XMH7XT7
Click here to Shop Online:
Comments